Guide · Device Test Toolbox
How to Test a Game Controller on Your PC
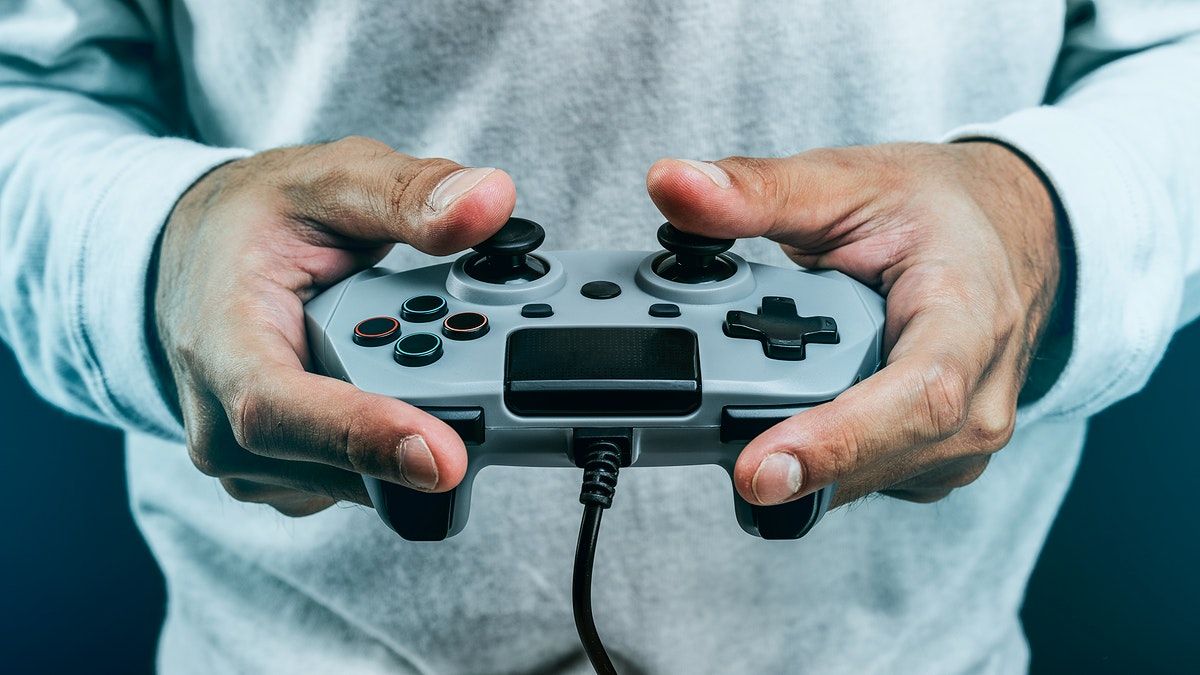
A controller gives you three classic problems: the PC does not see it, a button quietly stops working, or a stick starts drifting so your character walks on their own. All three are testable in minutes, and testing beats guessing — especially with stick drift, where the difference between “needs recalibrating” and “needs replacing” is a number you can read off a screen.
Step 1: Connect it the way browsers expect
Open the gamepad test on this site. If it says no gamepad, do not panic: browsers deliberately hide controllers until you press a button or move a stick, as a privacy measure. Connect the controller — USB is the most reliable first test — press any button, and it should appear by name. For Bluetooth, pair it with the operating system first; the browser cannot pair devices itself. If USB works and Bluetooth does not, you have already isolated the problem to pairing or wireless, not the controller.
Step 2: Press everything, squeeze gradually
Work through every button once: face buttons, bumpers, triggers, stick clicks, D-pad in all four directions, and the menu and share buttons. Each press should light its indicator. Then squeeze the triggers slowly — they are analogue, and their values should rise smoothly, not jump or stick part-way. A button that only works with unusual force, or a trigger that never reaches full travel, has told you its story. Test with the controller you will actually play with, in the connection mode you will actually use.
Step 3: Measure stick drift properly
Roll each stick in slow circles and watch the axis readouts. Two things matter. First, smoothness: values should sweep evenly, without dead spots where the reading freezes or jumps. Second — the drift test — let go completely and read the resting value. A healthy stick settles at or very near 0.00 on both axes. A stick resting at 0.10 to 0.20 untouched is drifting: it is reporting movement that is not happening, and games with small deadzones will show it as phantom input. Note the resting figure; it is the key number for everything that follows.
Step 4: Recalibrate before you replace
Mild drift has legitimate fixes. Recalibrate the controller in your system or console settings if it offers calibration, and check the game's deadzone setting — raising the deadzone slightly hides mild drift at the cost of a little fine control. Clean around the stick base with compressed air; grit under a stick causes real symptoms. Then re-test and compare resting values. Drift on a brand-new controller, or drift that calibration cannot bring near zero, is a return or warranty matter — potentiometer sticks wear with hours of use, which is why drift is a when, not an if, on heavily used controllers, and why hall-effect sticks are marketed as immune to it.
Connection problems, methodically
Not detected at all? Try the cable first — charge-only USB cables carry no data, and they are everywhere. Try another port, avoid hubs for testing, and check whether another app or game launcher is capturing the controller exclusively. Detected in the browser test but not in one game usually means that game wants a different input mode or has its own controller setting; detected in games but not the browser usually means the browser tab simply has not seen a button press yet. Keep the variables separate and change one at a time.
The whole chain matters
A controller is one link in an input chain: stick, connection, game, display, sound. If games feel unresponsive even with a healthy controller, measure the display with the refresh rate test and the sound delay with the audio latency test — input lag is a stack of small delays, and each test isolates one layer. And if your mouse is showing the same class of fault — registering input you did not give — the mouse double-click guide covers chatter, the switch version of exactly this disease.
Testing a controller before you buy or sell
This test earns its keep at two moments money changes hands. Buying second-hand, it is a two-minute inspection that protects you from the two faults sellers genuinely may not know about: early stick drift, which only shows as a resting value on a readout, and one tired button among seventeen. Run the full pass — every button, both sticks in circles, both triggers squeezed slowly, resting values read aloud — before paying, or agree the sale subject to it. Selling, the same pass protects you from returns and disputes: a screenshot of a clean test, resting sticks at 0.00, is the strongest honest description you can attach to a listing. The same logic applies to a new controller on day one, while the returns window is open, exactly as with a new screen or keyboard. Controllers wear invisibly; the test makes the wear visible, in numbers, while you can still act on them. That is the whole philosophy of this toolbox, applied to the device in your hands.
Try it now: run the free Gamepad test — it runs in your browser, and nothing is uploaded.